

For the majority of Brisbane ceilings, the ideal choice of ceiling paint is a flat white specifically designed for ceilings, applied over a properly prepared and sealed surface. bathrooms, laundries, and kitchens require a different approach: in these areas, a paint formulated for wet or humid environments is more effective at resisting steam and mould. New plaster should be sealed before any paint application.
This advice applies to most homes. The right choice ultimately depends on the specific room, the available light, and the existing ceiling finish.
Here’s a comprehensive guide on selecting the appropriate ceiling paint for each room.
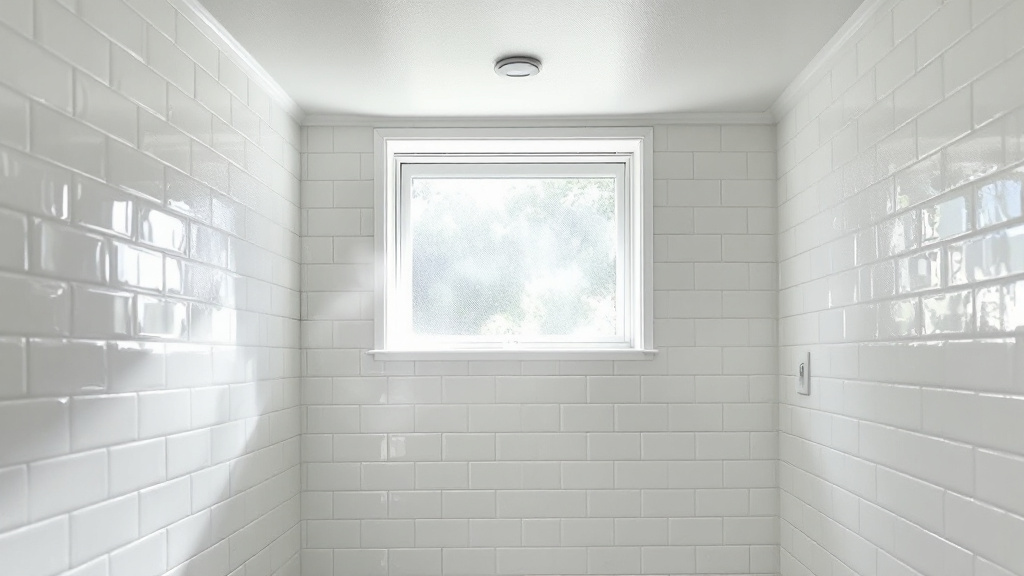
Understanding the Preference for Flat White Ceiling Paint
Ceilings primarily receive light from windows and downlights positioned to the side. Any glossy finish on the paint reflects this light, highlighting imperfections such as bumps, joints, and roller marks. In contrast, a flat finish absorbs light, causing minor marks in the plaster to become less visible.
This is why ceiling paint is predominantly flat.
Selecting the Perfect Ceiling Paint Colour
White is the traditional choice for ceilings, as it reflects light back into the room, creating an illusion of height. There are various shades of white available. A cool white complements modern spaces featuring grey and black tones, while a warmer white pairs well with timber floors and older homes. Some homeowners choose a ceiling white that matches the trims to achieve a cohesive look. ceilings need not be white; tinting the ceiling in a shade similar to the wall colour or opting for a darker hue in a media room are popular alternatives. If you choose a different colour, maintaining a flat finish remains essential for the same reasons mentioned earlier.
Choosing Ceiling Paint for Bathrooms and Humid Areas
The humid summers in Brisbane can be particularly taxing on bathroom, laundry, and kitchen ceilings. Steam condenses on the coolest surfaces, and flat ceiling paint can retain this moisture, leading to mould growth.
For these spaces, it’s advisable to use paint designed for wet areas. This type of paint typically features a low sheen or semi-gloss finish with mould inhibitors, offering better wipe-down capabilities than flat paint. While you may sacrifice some of the flat appearance, this compromise is often negligible in smaller rooms.
While selecting the right paint is important, it’s not the sole solution. If mould reappears on a bathroom ceiling each summer, improving ventilation is crucial. Installing an exhaust fan that operates during and after showers can help eliminate steam before it settles on the ceiling.
How to Treat Mould Before Painting
Never apply paint directly over mould. First, clean it thoroughly, allow the ceiling to dry completely, and then seal it before applying top coats. If mould continues to resurface despite clean paint, or if the plaster is soft or stained through, the underlying board may be compromised and require replacement rather than mere painting.
Importance of Sealer and Undercoat Before Ceiling Paint
The base layer beneath the ceiling paint is just as critical as the paint itself. The type of primer or sealer used depends on the surface being painted.
- New plasterboard: Requires a plaster sealer prior to painting. Unsealed raw plaster and joint areas absorb paint at different rates, leading to dull patches if not sealed.
- Water stains: Require a stain-blocking sealer. Standard ceiling paint will allow water stains to bleed through.
- Repaired patches: Need sealing to ensure the repair doesn’t appear with a different texture post-painting.
- Old, sound paint: Usually just requires cleaning and light sanding in rough areas.
Visit our painting page for detailed instructions on sealing new plasterboard before applying colour coats to achieve a uniform finish.
Assessing the Quality of Plaster Underneath Ceiling Paint
The appearance of paint is directly influenced by the quality of the ceiling beneath it. The smoothness required for the plaster varies based on the room's lighting and the type of paint selected.
A flat ceiling paint can hide many imperfections. In contrast, a low sheen or semi-gloss paint in a bathroom will reveal more flaws, necessitating smoother plaster as a foundation. If a room features a long window casting light onto the ceiling, even minor dips and joints will become evident. In this case, a higher-quality plaster finish is essential before proceeding with painting.
This is why any cracked joints, nail pops, and old patches must be filled and sanded flat prior to the application of ceiling paint. Paint cannot fill in dips or cracks, so the ceiling must be adequately smooth beforehand.
Ensuring Safe Ceiling Painting in Older Brisbane Homes
If you reside in an older home in Brisbane, the ceiling paint may contain lead. The Australian Government’s lead paint guide advises that homes built before 1970 are at the highest risk, and it cautions against dry sanding paint that may contain lead (Australian Government, Lead Alert: The six-step guide to painting your home). If your ceiling has old, flaking paint, it’s wise to have it tested before any sanding occurs.
Old ceiling sheeting requires similar precautions. According to the Queensland Government, homes built prior to 1990 are likely to contain asbestos, and since it is not visually identifiable, you should treat it as if it does (Queensland Government, How to handle asbestos safely after a storm). Avoid sanding, drilling, or cutting into an old ceiling until you confirm its material composition. A repaint over intact sheeting is different from making any penetrations.
Determining the Number of Ceiling Paint Coats Required
Applying two coats over a sealer is standard for most ceilings, ensuring even colour distribution and concealing roller marks.
You may need additional coats or a different type of first coat in certain circumstances:
- When going lighter over a dark colour: An undercoat will facilitate the white covering in fewer layers.
- When covering stains: A stain blocker should be applied first, followed by two top coats.
- When painting fresh plaster: The sealer counts as one coat, followed by two top coats.
Applying just one coat straight from the tin rarely yields satisfactory results on a ceiling. Marks often become apparent as soon as light hits at an angle.
Deciding Between DIY Ceiling Painting and Hiring a Professional
A small, low ceiling in good condition can be a manageable DIY project over the weekend if you are comfortable using a ladder. Start by cutting in around the edges, then roll in sections while maintaining a wet edge to avoid lap marks.
Consider hiring a professional in the following situations:
- The ceiling height is significant: Areas such as stairwells, raked ceilings, and two-storey voids necessitate proper access equipment.
- The plaster requires repairs: Issues such as cracks, sagging, or water damage should be addressed before painting.
- The paint may contain lead: Older homes require testing and safe removal protocols.
- You wish to paint the entire house: Coordinating the painting of ceilings, walls, and trims together is more time-efficient than tackling each separately.
Factors Influencing the Cost of Ceiling Painting
The quote for ceiling painting is largely influenced by the room and surface conditions rather than the paint itself. The following factors can affect pricing:
- Room size and height: Larger and higher ceilings necessitate more paint and setup time.
- Condition: Issues such as cracks, stains, mould, and peeling paint must be remedied beforehand.
- Surface type: New plasterboard requires a sealer coat in addition to the top coats.
- Cornices and roses: Detailed plasterwork takes longer to cut in.
- Number of rooms: Painting several rooms simultaneously is more efficient than tackling them one at a time.
- Furniture and access: Rooms that require clearing or protection necessitate longer setup times.
For a free quote, reach out to us with details about the rooms, the current condition of the ceilings, and any issues you've noticed, such as stains or cracks. One quote will cover both plaster repairs and painting.
Brisbane Plaster Pro. Call (07) 3064 0686. QBCC Licence 15576119 (MGH Contracting) and QBCC Licence 15511709 (All Paintworx).
Original Article First Published At: Selecting the Ideal Ceiling Paint for Brisbane Homes