

Following a storm in Brisbane, a brown stain on the ceiling often serves as an early indication of water infiltration. This might manifest as a small mark near a light fixture or as sagging plasterboard that drips water. Regardless of the severity, the sequence of actions is crucial: ensure safety, document the damage, halt the water source, allow the ceiling to dry, and then proceed with repairs.
Determining whether a water-damaged ceiling can be patched or requires new plasterboard relies on the extent of moisture absorption and the duration it endured. A minor stain on intact, dry plasterboard can typically be sealed and painted. Conversely, if the board feels soft, warped, or crumbling, it must be cut out and replaced.
Here’s a detailed step-by-step guide to follow.
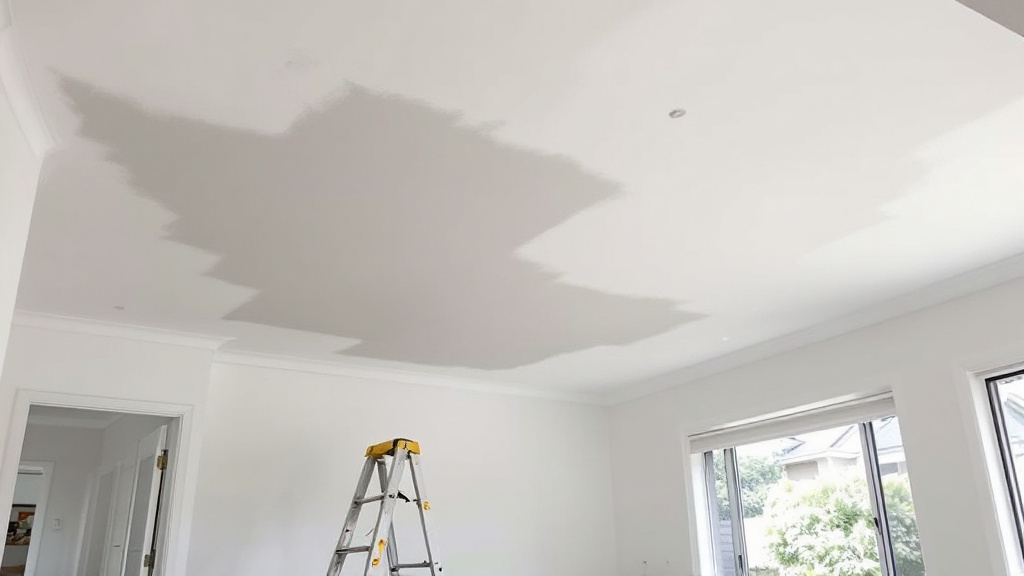
Step 1: Ensure Safety with a Water-Damaged Ceiling
Prioritising safety is essential, as a wet ceiling can be dangerously heavy. Plasterboard absorbs water and might collapse unexpectedly.
- Maintain distance: Avoid standing or sleeping beneath a bowed or bulging ceiling. Relocate individuals, pets, and furniture from the affected area.
- Contain the water: Position a bucket beneath any dripping water to protect the floor.
- Avoid electrical fixtures: Refrain from touching lights, fans, or switches if they are near the water source.
- Steer clear of wet switchboards: The Queensland Electrical Safety Office advises against approaching switchboards that have been exposed to water (Electrical Safety Office, Electrical safety during storms).
The same guidance recommends against performing your own electrical repairs and emphasises the importance of hiring a licensed electrician. If your property sustained damage in the storm, a licensed electrician will need to assess the switchboard and wiring before restoring power.
Identifying Asbestos in Older Storm-Damaged Ceilings
For homes constructed before 1990, exercise caution with any debris from the ceiling. According to the Queensland Government, older homes are likely to contain asbestos, and since it is not easily identifiable, treat all materials as if they contain asbestos (Queensland Government, How to handle asbestos safely after a storm). Avoid sweeping, breaking, or cutting old ceiling panels until you confirm their composition.
Step 2: Document the Water-Damaged Ceiling for Insurance Claims
Photographs are crucial for processing insurance claims. The Queensland Government recommends taking photos, videos, and compiling an inventory of damaged items, and contacting your insurer before authorising any significant repairs (Queensland Government, Insurance).
When documenting the ceiling, consider capturing the following images (a smartphone camera will suffice):
- Wide shots: Capture the entire room to clearly indicate the location of the damage.
- Close-ups: Focus on the stain, any sagging, cracks at the joins, and peeling paint.
- The source: Photograph the roof, gutter, or pipe from which the water originated, if accessible and safe.
- Progress: Take a photo each day if the stain continues to expand.
Insurance policies vary, so consult your insurer regarding their specific requirements. If needed, a plasterer can provide a written scope of the ceiling repair for your insurer.
Step 3: Repair the Water-Damaged Ceiling by First Stopping the Leak
Any repairs to a water-damaged ceiling will be ineffective if the source of water remains active. Address the roof leak, blocked gutter, cracked tile, or burst pipe with the help of a qualified tradesperson.
After fixing the leak, monitor the stain during subsequent rainfall. If it does not expand, the issue is likely resolved. If it continues to grow, further water intrusion may be occurring.
Step 4: Allow the Water-Damaged Ceiling to Dry Completely
Before any repairs or painting can occur, the plasterboard must be entirely dry. Painting over damp plasterboard will result in the stain reappearing, and the paint may bubble or peel.
Open windows when weather permits, utilise fans, and ensure the room is well-ventilated. During Brisbane's humid months, this drying process may require considerable time. insulation above the ceiling can retain moisture longer, so inspect it once it is safe to access.
How to Determine if a Water-Damaged Ceiling Has Dried
- Touch: The plasterboard feels firm and matches the temperature of the dry sections of the ceiling.
- Colour: The stain has ceased spreading, and its edges remain stable.
- Smell: There is no musty odour present in the room.
If you have any doubts, a plasterer can assess the ceiling's condition and inform you when it is ready for repair.
Step 5: Decide Whether to Repair or Replace the Water-Damaged Ceiling
The decision hinges on the condition of the plasterboard after drying.
When Is a Water-Damaged Ceiling Repairable?
A repair is typically viable when:
- The plasterboard is firm: It feels solid when pressed with a flat hand.
- The damage is merely a stain: Only the paint and the paper facing show signs of wear.
- The joins remain intact: The joint tape and setting have not lifted or cracked.
In such cases, the ceiling is cleaned, any loose paint is scraped away, small cracks are filled and sanded, and a stain-blocking sealer is applied before repainting. Neglecting the sealer may cause the water stain to reappear through the new paint. For more information, visit our residential plastering and repairs page, which covers water damage repairs for Brisbane homes.
When Does a Water-Damaged Ceiling Require New Plasterboard?
Plasterboard that has become thoroughly soaked usually needs to be replaced. Signs indicating this include:
- Sagging: The ceiling dips between the battens or joists.
- Soft or crumbling board: The board yields when pressed or disintegrates at the edges.
- Lifting joints: The joint tape has bubbled or detached.
- Extensive stains: Damage covers a large portion of the ceiling or extends across multiple sheets.
- Mould: Persistent mould that reappears even after cleaning.
The damaged area is cut back to sound plasterboard, or the entire ceiling sheet is replaced. It is essential to check the battens and framing above to ensure they are dry and stable. New plasterboard is installed, the joins are set and sanded, and the cornice is either replaced or matched as needed. the ceiling is sealed and painted.
Factors Influencing the Cost of Water-Damaged Ceiling Repairs
There is no fixed price for repairing a storm-damaged ceiling, as the extent of damage varies from one property to another. Several factors can influence the cost:
- Repair versus replacement: Sealing and painting a minor stain is considerably less labour-intensive than replacing entire sheets.
- Area of damage: A small patch near a downlight compared to an entire room's ceiling.
- Ceiling height and style: High, raked, or VJ-style ceilings require more extensive setup.
- Cornice: Whether the existing profile can remain or needs matching.
- Painting: Whether the entire ceiling requires repainting to conceal the repair.
- Asbestos: Older ceilings may necessitate testing before any work can commence.
Obtaining a free quote is the best way to determine your ceiling's repair needs. Contact us with details about the damage, including where the water entered and when it occurred. Providing photos can assist us in presenting your options.
Quick Overview of Water-Damaged Ceiling Repair Steps
Start by ensuring the room is safe and documenting the damage thoroughly. Next, stop the water source, allow the ceiling to dry completely, and repair any salvageable sections. A minor stain on solid plasterboard is an easy fix, while a sagging, soft ceiling will require replacement, and the sooner this is addressed, the better.
Brisbane Plaster Pro. Call (07) 3064 0686. QBCC Licence 15576119 (MGH Contracting) and QBCC Licence 15511709 (All Paintworx).
Original Article First Published At: Storm damaged ceilings in Brisbane: repair steps